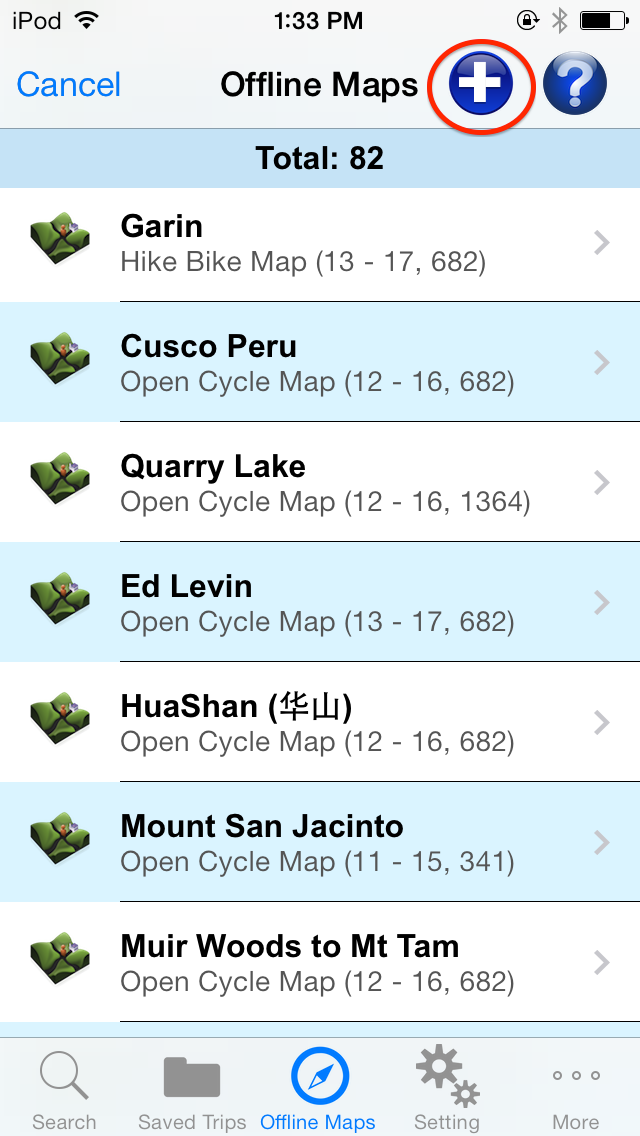
1. Go to the Offline Maps screen and click on the top left "Add" button to create new offline map.

3. Go to the "Name" field and enter the name of the map. Name can be duplicate.

4. Go to the "Origin" field and select the type of map data origin. It can be either online map tile service or local image file. If "Map Tile Service" is selected, you need to select a service providers as well. If "Local Image File" is selected, you can select an previously saved map image (need to use Mercator projection) to be used as offline map.

5. Map bound is defined by a rectangle consisting of two latitude lines on the north and south ends and two longitude lines on the west and east ends. For example, 24N (northern latitude line), 23N (southern latitude line), 110E (western longitude line) and 108E (eastern longitude line).

6. Map bound is specified in the "Bound Coordinate" section. You can manually enter the coordinates for latitude and longitude lines. For your convenience, you can also either select a saved trip and use its trip bound to define the map big enough to cover the trip, or click on the map to define its bound.

7. You can manually enter coordinates for map bound.

8. Or you can select a trip from your locally saved trips and use its trip bound to define a map big enough to cover the trip.

8a. Just select a trip from the drop down list and click on the "Use" button.

8b. It may take a while to process the data after clicking on the "Use" button. Once it's done, the coordinate fields would be automatically populated via the coordinates of the trip bound.

9. You can also define map bound by specifying two diagonal corner points of the rectangle on the online map. Click on "Create Bound On Map" button to do so.

9a. Pan and zoom the map to the area where you want to define the map bound for the new offline map.

9b. Long press on the map to specify the first corner point of the map coverage. Click on the "Undo" button if you make a mistake.

9c. Long press on the map to specify the second diagonal corner point and the map coverage is defined by the rectangle shown on the map. The solid rectangle is the map bound specified by you and the bigger outlined rectangle is the area actually would be downloaded. Click on the "Done" button for completion.

10. Once you finish inputing map name, origin and bound, click on the "Save" button to save the new offline map and it will go back to the "Offline Maps" screen. Please note that you need to download the map tiles first before using the new offline map.

11. Locate your newly created offline map on the "Offline Maps" screen and click on it.

11a. Click on the "Download" button to download the map tiles from the service provider. Make sure you have network service before doing so. Wi-fi connection is recommended to save network fee.

11b. The download process can be slow as the map tile service is free and has bandwidth limitation.

11c. After the download is complete, click on the "Add To Main Map" button to use the offline map. If a map is downloaded, you can add it to the map directly. Or you can download the map again to get the new map data.

11d. The offline map will be displayed as an overlay on top of the main map. To remove the offline map from the main map, go to the configuration screen and click on the red "Offline Map" button.

Thanks to have this nice feature and I have tried it successfully on my iPad. However, I also found two problems:
ReplyDelete1. The app cannot show the png file greater than 100M.
2. During the try-and-error process, I made a mistake to uploaded the kmz file, but I cannot find a way to remove it or remove any map files.
I'd appreciate if you can let me know how to remove unwanted files from your app. Thank you.
1. GPS Hiker is not supposed to handle a big png file of high resolution. If possible, use a map of resolution less than 1024 x 1024.
Delete2. When you delete a offline map with the origin of local image file, all map tiles created locally will be removed automatically. To delete a offline map, right swipe at the item in the Offline Maps list. For the KMZ file, use iTune to go to GPS Hiker's document folder and delete it there.
It works and thank you.
ReplyDeleteHi. Is it possible to create my own custom map in MOBAC (Mobile Atlas Creator) and then import it into GPS Hiker? If so, what's the best file format to use, and how big can the file be (in megabytes)?
ReplyDeleteNo. You cannot import a map (which contains map tiles) from MOBAC. However, you can import a map image file if necessary.
DeleteThanks for the reply. What formats of image files can be imported? Can you explain how to do this? For example, do I need to transfer the image file from my computer to GPS Hiker's document folder via iTunes, and does the image file need an associated calibration file? Would really appreciate your help.
ReplyDeleteGPS Hiker supports PNG and JPG files. Basically you follow the guideline of this article to create a offline map and select data source from local image file. You do need to provide the coordinates of your map.
ReplyDeleteHi. Tried using jpeg and png images from the iPhone as maps on your app. The files are smaller than 500 x 500 pixels and when I chose Local Image File, it does not display any files from the phone to chose from, even though the images show in the iPhone under Photos with the rest of the photos. What needs to be done not to be able to use a custom map image from my phone as a map on GPS Hiker? Thanks for your help.
ReplyDeleteHi Jacob,
DeleteYou need to create a offline map to associate with your image file and providing the geo-coordinate information. After the map is created, go to the map under Offline Maps and add it to main map for use. Please let me know if this works.
I wanted to clarify what methods can be used to load the image into the local image files. Is it possible only using iTunes? With GPX files it was also possible to save the file from e-mail. With images it did not work.
DeleteYou can only upload image files to the app via iTune for now. For GPX files, you can choose GPS Hiker to open it in the email or you can use air drop to send the file in GPS Hiker to others. Please let me know if any further question.
DeleteHello Dan S,
ReplyDeleteI have downloaded a map from openstreetmap (35mb) with format .osm.pbf and I have uploaded with itunes shared files as I made with one .gpx file that is on the app just perfect.
Where can I select this downloaded map from your app?
Or can you explain step by step the procedure to use external downloaded maps?
Thank you in advance for your support.
GPS Hiker does not support files downloaded from openstreetmap directly. Instead, you need to create a offline map for openstreetmap in the GPS Hiker application and download the map there. The steps are detailed in the post.
DeleteNice and a very useful blog. Keep sharing.
ReplyDeleteIs it possible to combine tracks from several trips on one map? I'm trying to show a continuous trail that I've done from several trips and display it on one map. Thanks
ReplyDeleteIf you merge tracks in different gpx file into one gpx file, they can be displayed on one map. There is a lot of tools on the web that help you merge the gpx file. Just to be sure the earlier trips need to be merged first. Just google 'merge gpx files'.
DeleteThis comment has been removed by the author.
ReplyDeleteI have the app on ios, but there is no offline map feature available? I can only record, have insight in starts of the current trip or config....but no where can I find the offline maps icon?
ReplyDelete